Installing DaVinci Lightweight Tiles With a Staggered Pattern
Today’s tip is how install DaVinci’s composite shake and slate steep slope roofing products in a staggered pattern. The staggered pattern works especially well with DaVinci’s multi-width products but the method can also be used with the Valoré line.
I will describe the installation of a staggered pattern for DaVinci Slate. Keep in mind that DaVinci Shake can be installed in a staggered pattern in similar manner by just changing the measurements slightly.
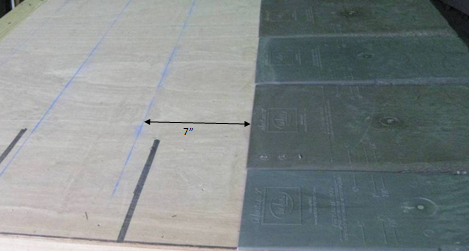
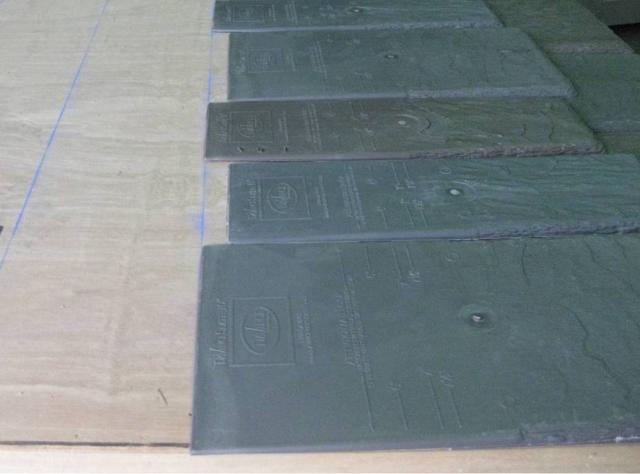
The staggered pattern is accomplished with DaVinci Slate by snapping a chalk line every seven inches horizontally measuring from the tips of the first course of slate. After that, the tips of every other tile are laid on the chalk line while the adjacent tiles are laid approximately one inch below the line. That is all there is to it!
(Please not that we have not used the required underlayment in order to make the lines more visible.)
![]()

tiles one-inch below the line.

of DaVinci Slate lightweight roofing tiles.

![]()
DaVinci Multi-Width Shake can be installed in the same manner by making horizontal chalk lines every 9″ instead of the 7″ with shake.